前言
Crypto++是一个轻量、开源、受欢迎的C++密码学库,采用了OOP的程序设计思想,总体比较契合C++的程序设计风格。
本文主要介绍如何在Visual Studio 2022中配置Crypto++的开发环境。本文作者是个菜逼,失败了很多次,因此可能存在很多纰漏。
环境
OS: Windows 10/11
IDE: Visual Studio 2022 (C++ SDK)
C++ 编译器: MSVC
Crypto++版本: Crypto++ 8.9.0
下载并解压Crypto++
在Crypto++的官方网站可以下载Crypto++,选择自己想要使用的版本即可:
Crypto++ Library 8.9 | Free C++ Class Library of Cryptographic Schemes (cryptopp.com)
下载后,把Crypto++的压缩包解压到自己想要存放Crypto++的文件夹,这里要注意,压缩包没有内层文件夹,因此最好不要解压D:\Download之类的目录下,否则容易造成混乱。
编译Crypto++
打开项目
进入Crypto++解压后的文件夹,找到cryptest.sln这个文件,双击用Visual Studio打开它。
Debug模式编译
注意生成选项,对于64位系统建议选择x64。先选择Debug模式。

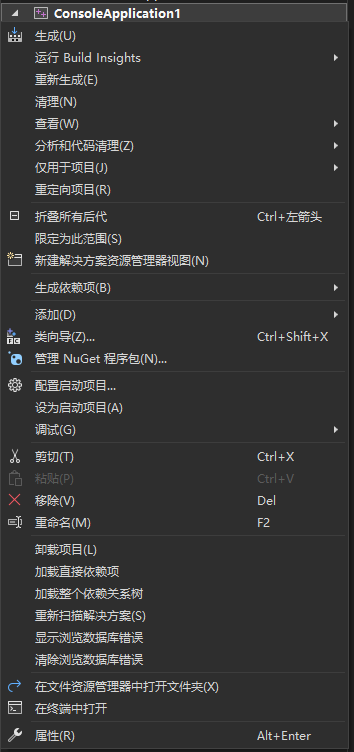
在右侧的项目文件夹找到cryptlib,右键单击,生成:

Visual Studio会尝试编译cryptlib,这个过程需要一点时间,可以在下方的控制台看到进度。
Release模式编译
切换到Release模式。

在右侧的项目文件夹找到cryptlib,右键单击,生成。
Visual Studio会尝试编译cryptlib,这个过程需要一点时间,可以在下方的控制台看到进度。
编译完成
到这一步,编译已经完成了。
配置Visual Studio
新建项目
可以新建一个项目用来测试,打开Visual Studio,创建新项目,控制台应用。
你可以先把这些代码复制到源文件中,以便测试:
(代码来源:Advanced Encryption Standard - Crypto++ Wiki (cryptopp.com))
1
2
3
4
5
6
7
8
9
10
11
12
13
14
15
16
17
18
19
20
21
22
23
24
25
26
27
28
29
30
31
32
33
34
35
36
37
38
39
40
41
42
43
44
45
46
47
48
49
50
51
52
53
54
55
56
57
58
59
60
61
62
63
64
65
66
67
68
69
70
71
72
73
74
75
76
77
78
79
80
81
82
83
84
85
86
87
88
89
90
| #include "cryptlib.h"
#include "rijndael.h"
#include "modes.h"
#include "files.h"
#include "osrng.h"
#include "hex.h"
#include <iostream>
#include <string>
int main(int argc, char* argv[])
{
using namespace CryptoPP;
AutoSeededRandomPool prng;
HexEncoder encoder(new FileSink(std::cout));
SecByteBlock key(AES::DEFAULT_KEYLENGTH);
SecByteBlock iv(AES::BLOCKSIZE);
prng.GenerateBlock(key, key.size());
prng.GenerateBlock(iv, iv.size());
std::string plain = "CBC Mode Test";
std::string cipher, recovered;
std::cout << "plain text: " << plain << std::endl;
try
{
CBC_Mode< AES >::Encryption e;
e.SetKeyWithIV(key, key.size(), iv);
StringSource s(plain, true,
new StreamTransformationFilter(e,
new StringSink(cipher)
)
);
}
catch(const Exception& e)
{
std::cerr << e.what() << std::endl;
exit(1);
}
std::cout << "key: ";
encoder.Put(key, key.size());
encoder.MessageEnd();
std::cout << std::endl;
std::cout << "iv: ";
encoder.Put(iv, iv.size());
encoder.MessageEnd();
std::cout << std::endl;
std::cout << "cipher text: ";
encoder.Put((const byte*)&cipher[0], cipher.size());
encoder.MessageEnd();
std::cout << std::endl;
try
{
CBC_Mode< AES >::Decryption d;
d.SetKeyWithIV(key, key.size(), iv);
StringSource s(cipher, true,
new StreamTransformationFilter(d,
new StringSink(recovered)
)
);
std::cout << "recovered text: " << recovered << std::endl;
}
catch(const Exception& e)
{
std::cerr << e.what() << std::endl;
exit(1);
}
return 0;
}
|
配置VC++参数
进入属性配置
在右侧的项目文件夹找到项目,右键,单击属性
配置包含文件目录
找到VC++目录 - 包含目录 - 编辑:

单击新行:

点击省略号图标,定位到自己存放Crypto++文件的目录:

点确定,此时如果配置的路径正确,源文件中包含的库文件报错应该已经消除。
但是此时运行程序还是会报错,这是因为没有包含Crypto++的静态链接库。
配置静态链接库
在属性当中找到链接器 - 附加库目录 - 编辑

添加新行,定向到之前编译生成的输出静态链接库目录,例如D:\Lib\Cryptopp\Cryptopp\x64\Output\Debug,当然这个路径要换成你自己的。
然后找到链接器 - 输入 - 附加依赖项 - 编辑

填写一条cryptlib.lib,确定。
此时还是不能够运行,因为调试模式还需要修改一下。
Debug模式修改调试运行库
在属性中找到C/C++ - 所有选项 - 运行库

把运行库改成 /MTd 多线程调试。
测试运行
启动Windows本地调试器,此时示例代码应该可以正确运行了,它的输出如下:
1
2
3
4
5
| plain text: CBC Mode Test
key: 862E4E435EE5AA798D2A654FAC00D66A
iv: 9090D44CABA3EF20A3E21D19DEBBA6A0
cipher text: 7CB66B9B9E767CBEA744309C423742D0
recovered text: CBC Mode Test
|
结语
至此,Visual Studio的Crypto++开发环境配置完毕。
Release模式的思路是一样的,只要把运行库改成 /MT 多线程 即可。